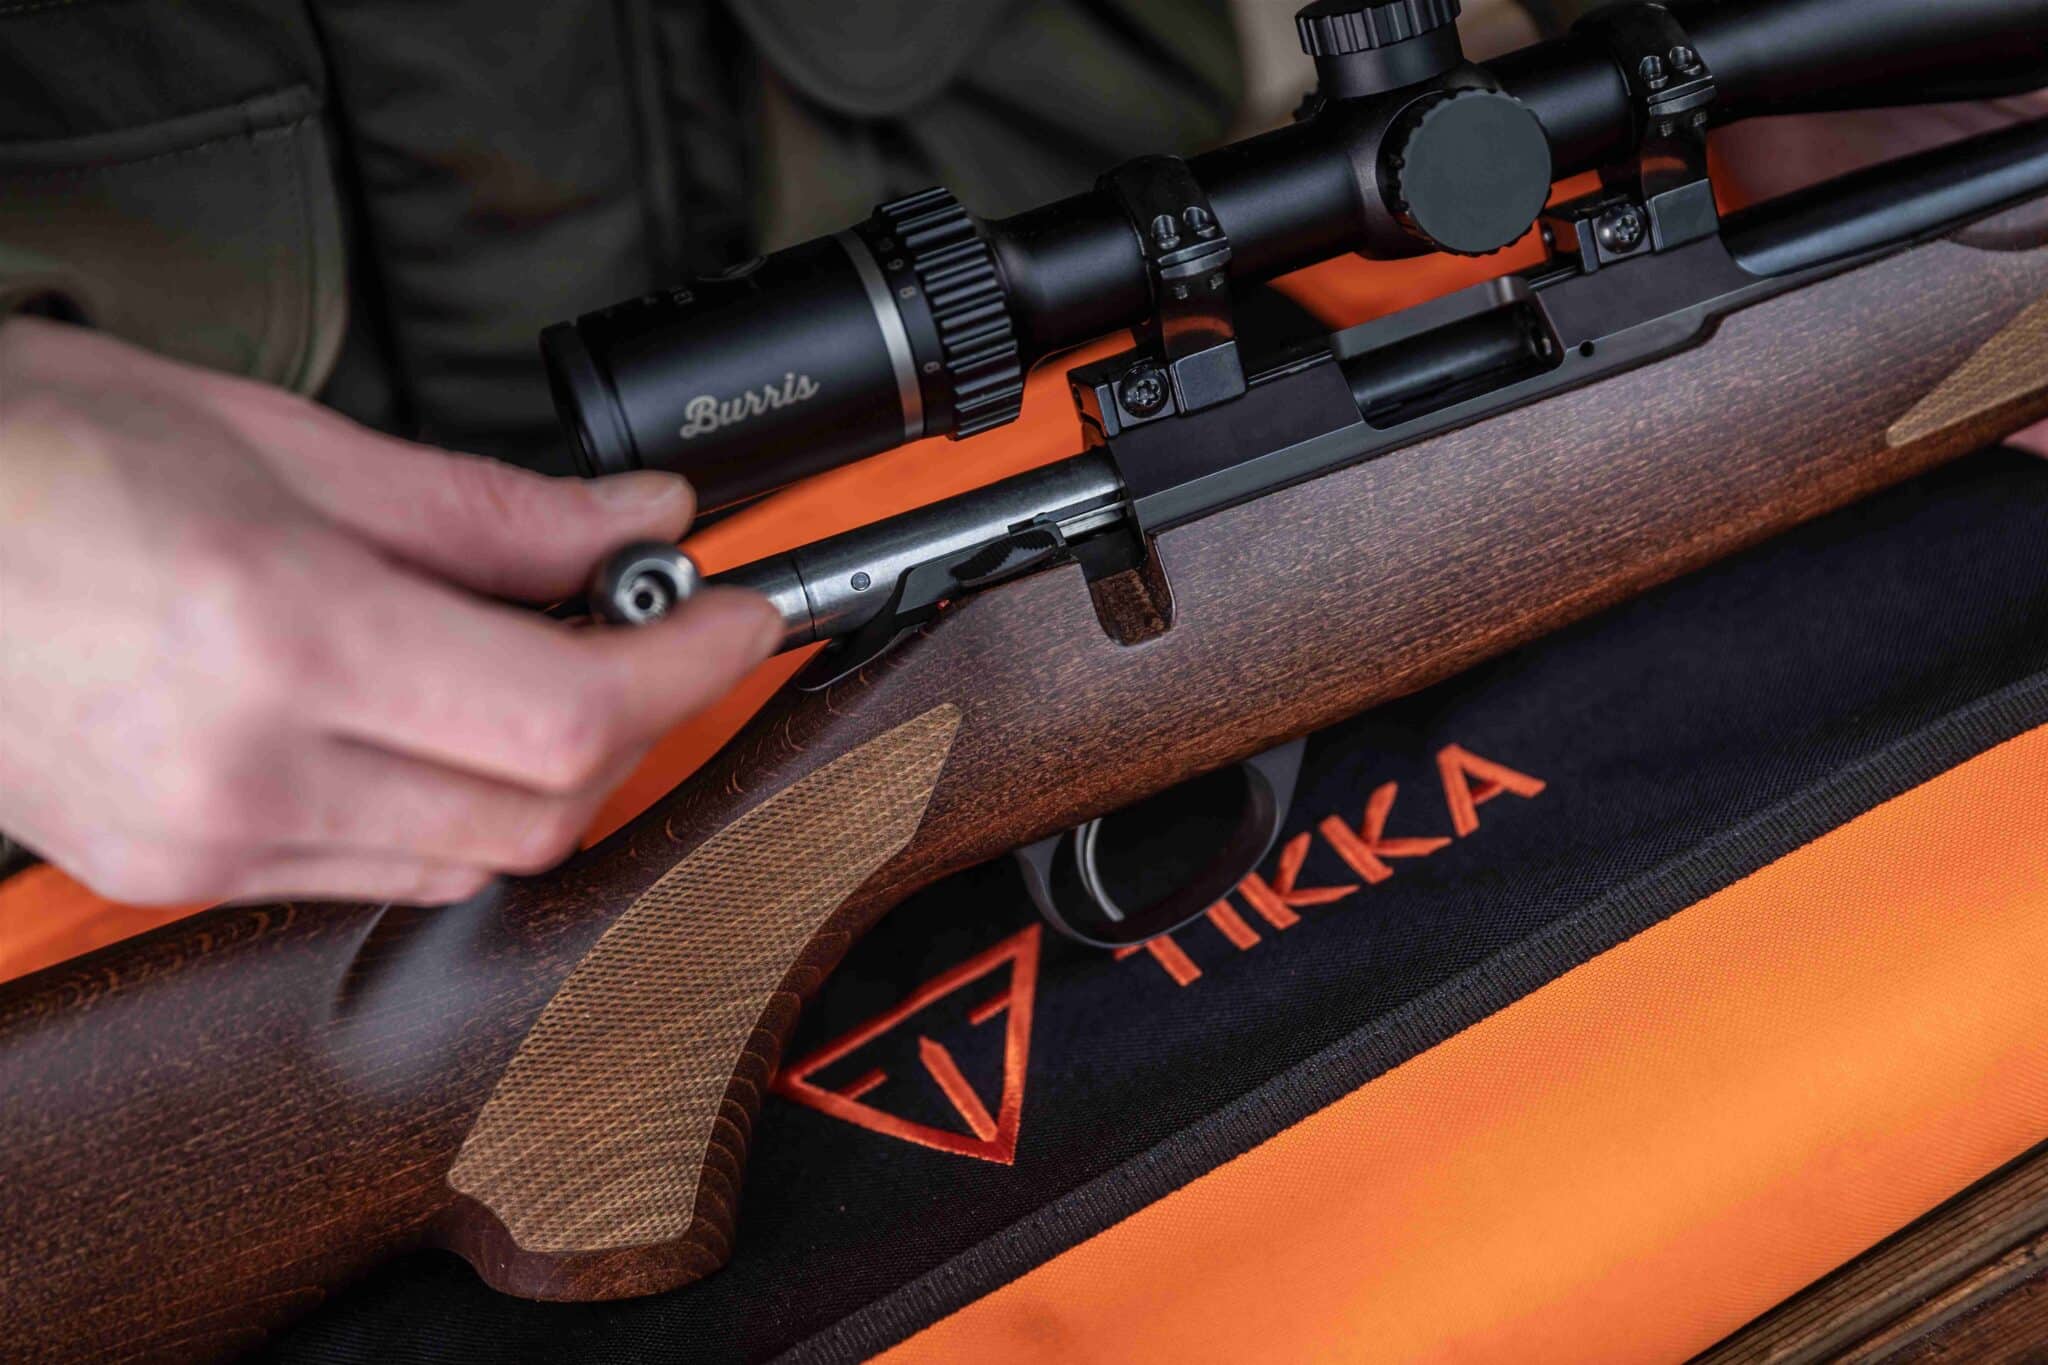
There is no one right technique to clean a rifle; there are a variety of methods. To ensure that you have the finest shooting experience and that your rifles last as long as possible, we have put together this step-by-step tutorial.
The barrel, action, bolt, and magazines are your rifle’s most crucial components to clean. Since there are plenty of products available, it’s very easy to get confused when it comes to cleaning rifles, but here, you can find the basic tools you need to get started. (Not all are needed)
Make sure your rifle is unloaded before you begin. To start, you should disassemble the gun to its basic components. It is crucial to strip the gun down if you have been outdoors in wet weather since water can enter between the components and cause rust. You can use a rag and a small amount of CLP, which functions as a cleaner, lubricant, and protector all in one, to clean all operating parts. Use this to clean the bolt, and you may also clean the bolt face and under the extractor by applying a small amount of bore solvent to a patch or an old toothbrush.
Don’t overlook the magazine. It’s crucial to make sure that no abrasive debris or other unsavoury particles enter the chamber, so be sure to give it a quick wipe down with some CLP. Reassemble the firearm after this is finished.
Here are a few pointers that will benefit you long-term before we begin the first stage of cleaning the bore.
You can purchase one of the many available firearm cleaning kits or get the required individual products as described above. We offer some of the best gun cleaning supplies that will keep your beloved firearms in great condition for your upcoming shooting trip.
When you start cleaning your bore a bore guide will help you keep the rod centred which is crucial to not damaging the bore. We recommend a phosphor-bronze brush that is essential for a quality clean or alternatively you can use a brass brush. You’ll want to have a nylon brush to wrap your patches or flannelette around.
Now you can grab the bore guide and cleaning rod, attach your bronze brush to the end and soak the brush with your bore solvent. You should aim for 10-15 strokes up and back to really get that powder off the bore. Now fix the nylon brush with a solvent patch and go up and down the bore 3 times using a new patch each time and it should come out nearly white. When it does follow up with a dry patch. Finally wipe down your cleaning rod with a paper towel.
Having eliminated the powder fouling, you are almost finished. Congrats!
The majority of people that clean their bores do not complete this stage, but we wanted to provide you with the most comprehensive instructions so that you can achieve the best possible clean. You will need a better solvent to get rid of copper because it is a little bit harder to clean and, if left to build up, can compromise accuracy.
The patch can now be fastened to the nylon brush and dipped into the copper solvent. Run this down the bore for 10–20 strokes; as soon as you start to see the patch emerge, draw it back. Do not let the patch extend past the muzzle. It is best to leave the chemical in the bore for at least 10 minutes to give it time to do its magic. After completing this, you can run a solvent patch up the bore followed by a dry patch. There is still copper in the bore if there is a blue/green colouring. If so, repeat the procedure until the colouring disappears or becomes very faint.
Finally, you can use a patch and some methylated spirits to clean away any chemical leftovers in the bore. Run a patch with a thin layer of CLP on it into the bore, then coat the metal-to-metal contact points with CLP.
While we do not require or even advise doing this after every shooting trip, try to do it after 30 to 40 shots instead.
As previously stated, you don’t need all the gear to give your rifle a thorough cleaning; a gun cleaning kit like this will work wonderfully.
You can other check out all our other gun care and cleaning products here
Now that the cleaning is over, good luck and take advantage of a flawless, lovely shooting experience.
© BERETTA AUSTRALIA 2023